
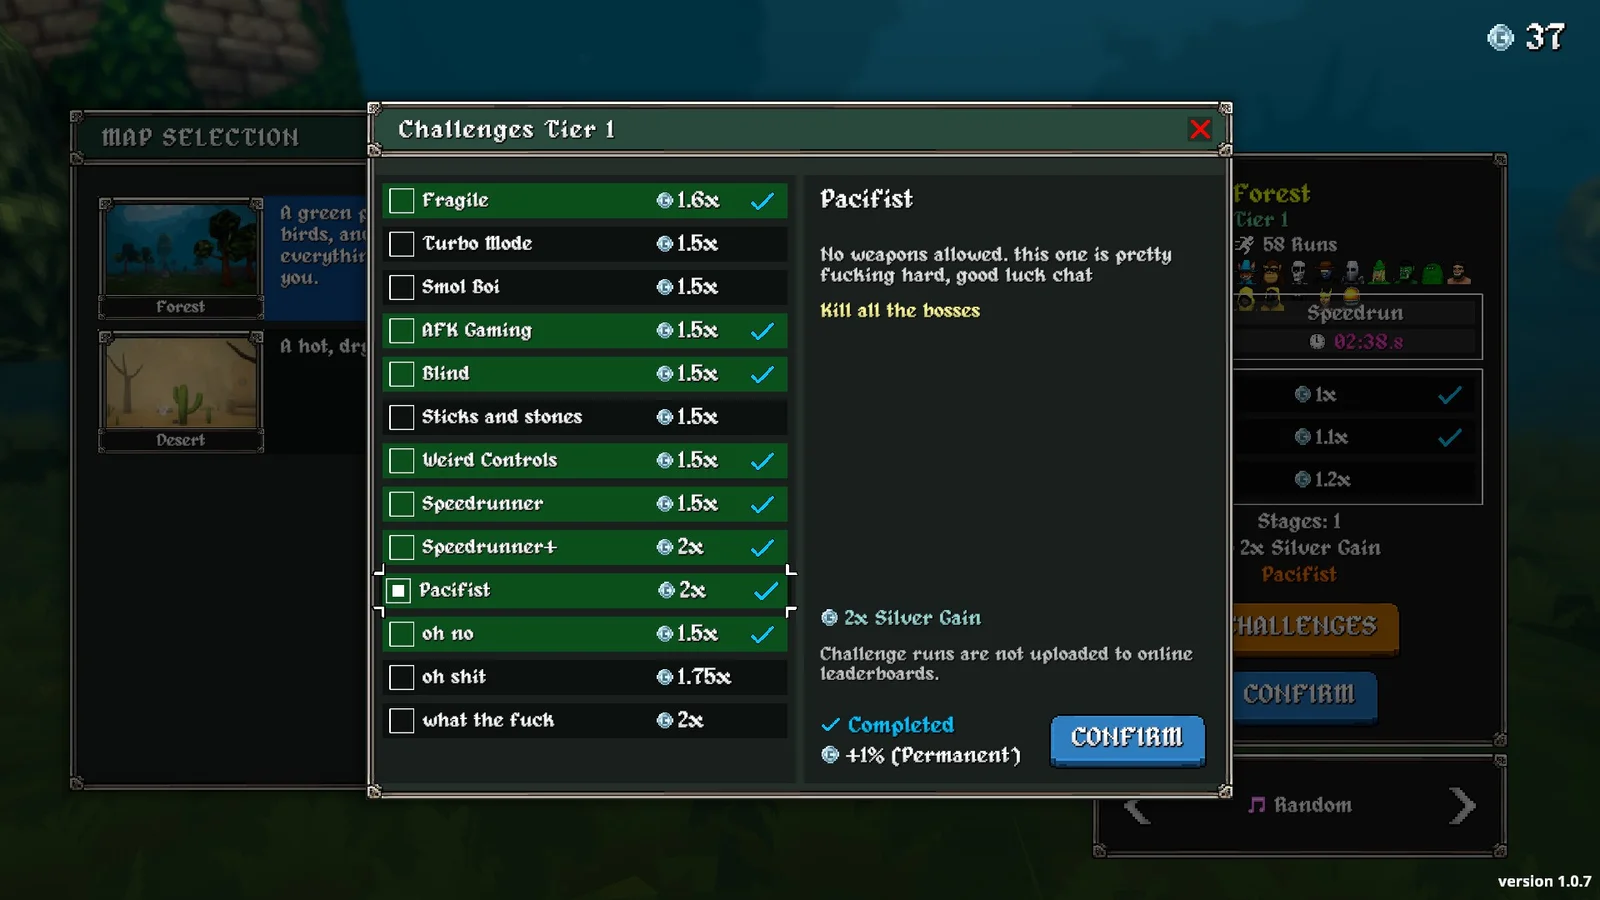
This challenge is rough. Like, actually rough. The whole goal is to beat the final boss without using a single weapon, and it sounds doable at first, but you’ll realise pretty quick that it’s just you, your shield, and a lot of pain.
This guide’s basically everything I learned after way too many failed runs. If you’re stuck, or just trying to figure out how the hell people are even finishing this, hopefully this helps.
Characters That Actually Work
So not everyone can even do this challenge. These are the few that stand a chance, ranked from best to worst:
Athena – Yes, she’s easily the best for this. Her thorns scale nicely, she deals more damage at low HP, and she can actually survive early game. You’ll spend most of your run near-death anyway, so it works out. The built-in thorns help you snowball early, which you need.
Ninja – Killing on evasion is decent, but you need to get lucky with tomes early on. It’s harder to start, but if you can get shields or regen rolling, it scales surprisingly well late game.
Sir Oofie – Tanky, yes, but no damage. You’ll be relying entirely on good pot drops and tomes to even stay relevant. Wouldn’t recommend unless you’re desperate.
Monke – Bit of a meme pick, but he can work. The jump spam with Bob’s Ghost item is hilarious — you basically just hop around spawning ghosts that kill everything. I didn’t personally beat the challenge this way, but I’ve seen people pull it off.
Early Game Strategy (The “Please Don’t Die” Phase)
The first 60 seconds decide everything. I’m not kidding — your run is either good or doomed right there.
Here’s what I did:
- As soon as you spawn, run straight into the first 7 enemies. You need that level up immediately.
- Hope for a Shield Tome on the first upgrade. If not, Regen is okay, but still pray for Shield next.
- If you don’t have Shield Tome by the 1-minute mark? Reset. It’s just not happening.
Break every pot you see. They’re your XP, gold, and sometimes, your sanity. Don’t touch difficulty totems early on — you won’t scale fast enough and will just end up buried under mobs.
Use charge shrines smartly. Prioritise weak spots your tomes don’t cover — like armor or evasion. Movement speed helps tons too since you’ll be kiting 90% of the time. Don’t waste shrine buffs on shields; level up the tome instead, it gives way more value.
And yes, learn to bunny-hop. You’ll be running, dodging, and praying constantly, so get confortable moving around fast while keeping your shield up.
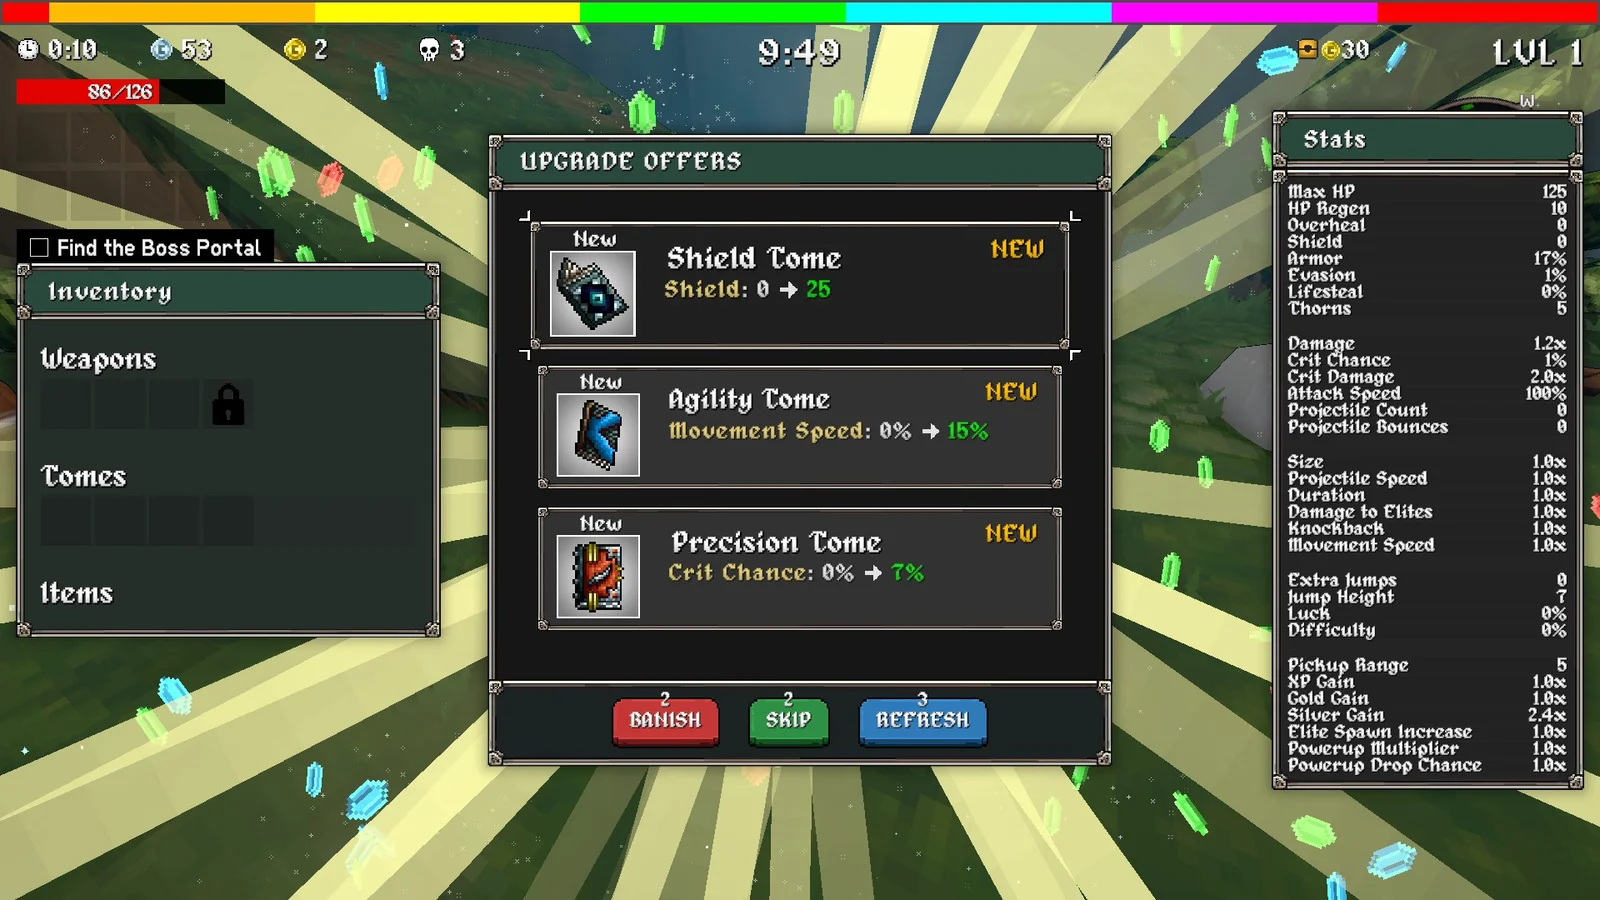
This screenshot is a proper example of a good start for a run, shield tome in 10 seconds will let you get quick safe scaling.
Tomes (aka Your Only Damage Source)
You can’t use weapons, so your tomes are your build. Pick carefully.
Shield Tome – The MVP. This is your lifeline. Shield + Thorns = safe damage. Slam into mobs, let your shield break, then kite until it recharges. Repeat. It’s dumb, but it works.
Thorns Tome – Your main damage scaling. Try to keep Shield and Thorns around the same level. You’ll want enough Shield to tank multiple enemies and enough Thorns to one-shot weaker mobs. I ended my run with around 100 points in Thorns — enough to kill the boss.
Regen Tome – Pretty important too. You’ll be running low on health constantly, so passive regen helps keep you alive and boosts Athena’s low-HP damage.
Armor / Evasion / Max HP – These are okay but secondary. Armor is the best of the three. Max HP shouldn’t ever be picked over Shield — it’s slower to recover and doesn’t help with your main damage loop.
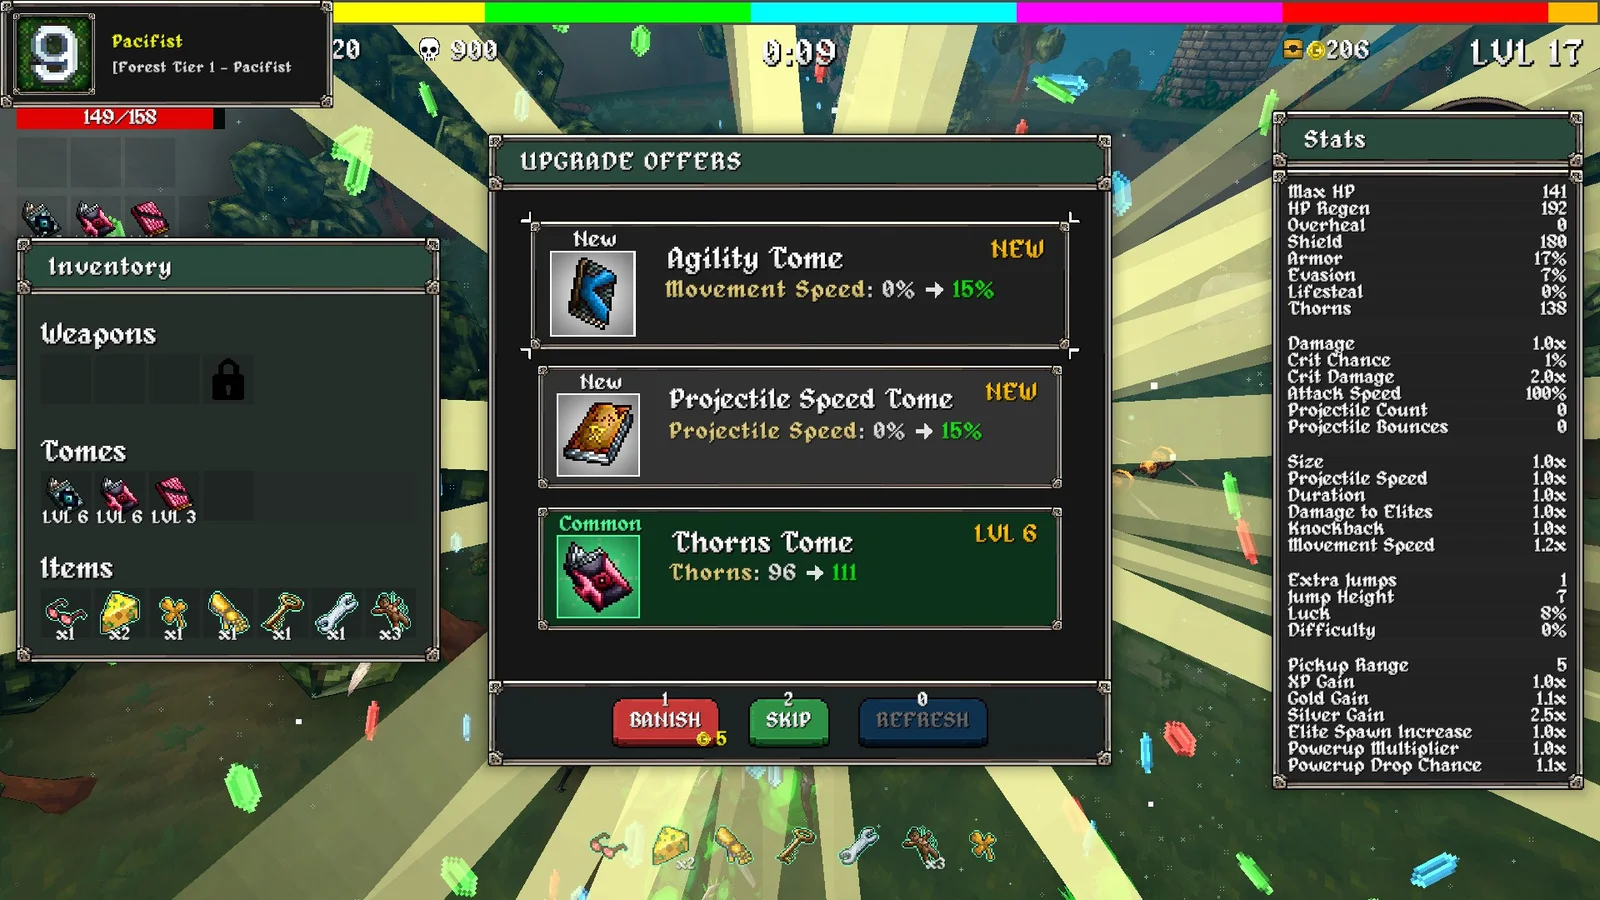
In this screenshot you can clearly see my tomes, stats and items that I had in order to defeat the final boss.
Items (What Saves or Kills Your Run)
Items make or break the challenge. Some of these are almost required for a win.
Cursed Doll – Straight-up god tier. It picks a random enemy and kills them after a few seconds. Lets you kill safely, great for minibosses too. Combine it with other damage-over-time items for hilarious results.
Moldy Cheese – Poison damage. Perfect for the boss fight. Two of these can chunk down the boss while you’re busy recharging your shield.
Bob (Dead) – Bit rare, but nuts if you get it. Deals passive ghost damage just from moving. Combine it with a mobile character (like Monke or Tony) for crazy synergy.
Medkit – More regen = more kamikaze slams. Simple but effective.
Campfire – Heals fast. Gives you downtime between fights if you can find a quiet spot.
Ghost – Break pots, get kills. It’s free damage that keeps your momentum up.
Dragonfire – Legendary, super rare, but if you get it with Cursed Doll, it’s GG. It spawns fire zones wherever Cursed Doll damages things. Instant wave clear, zero effort.
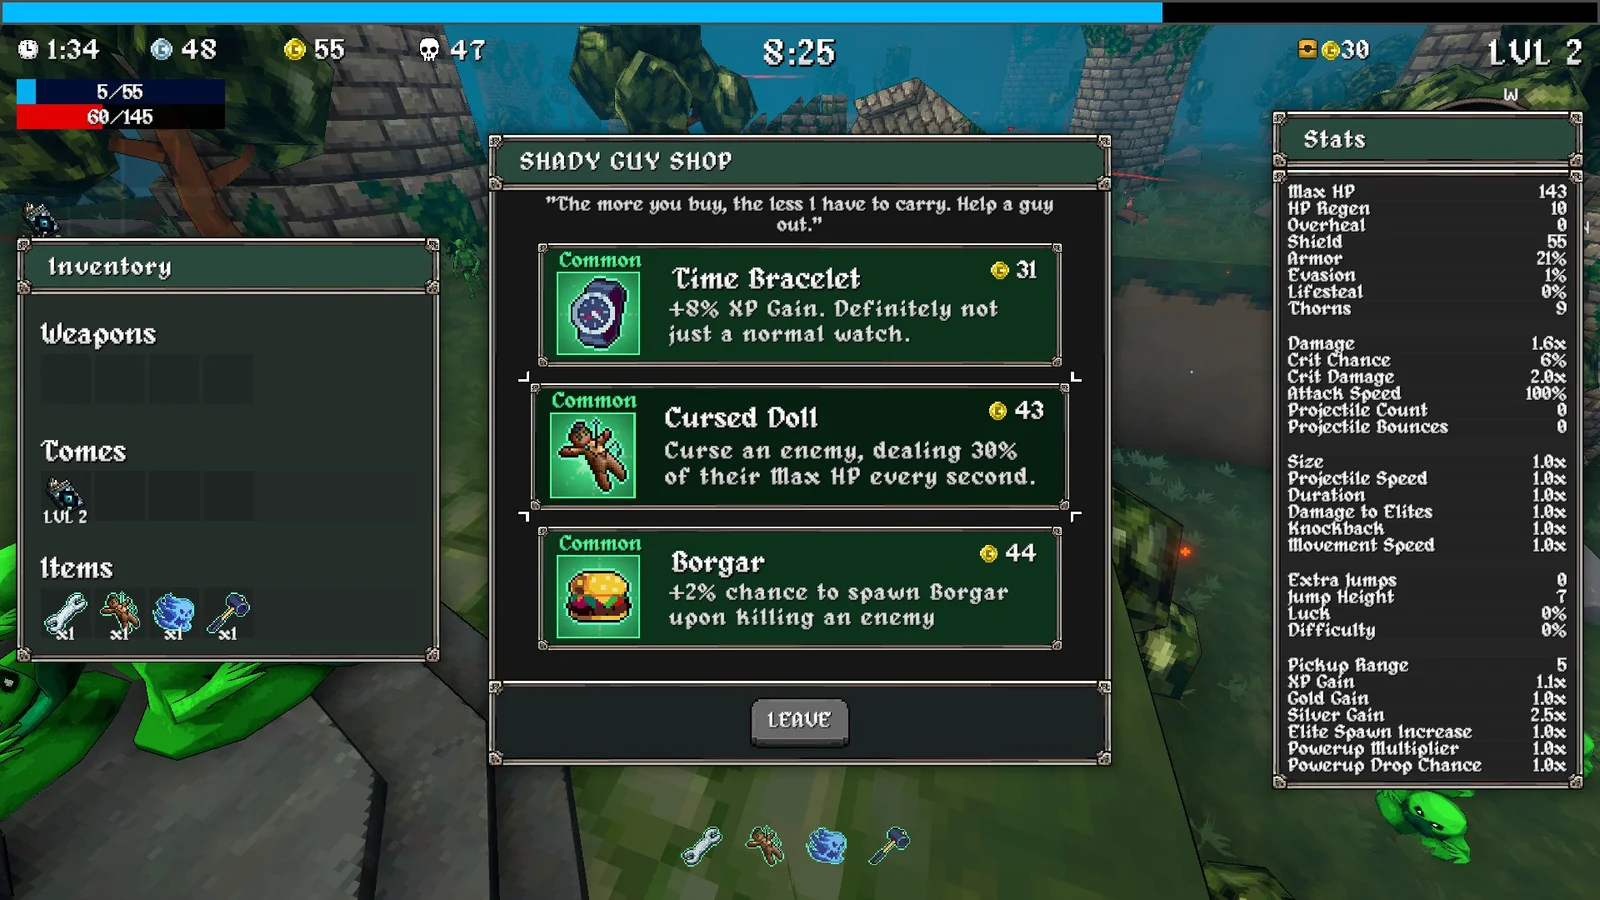
Make sure you should get a cursed doll as early as possible if you have a choice like this presented.
Perseverance (aka The Pain Section)
Okay, real talk — this challenge is brutal. It’s part skill, part luck, and part sheer stubbornness.
You can play perfectly and still die to RNG. Sometimes you’ll get every good item in the wrong order, or you’ll snowball too late to survive the boss. It’s frustrating, but that’s the nature of the challenge.
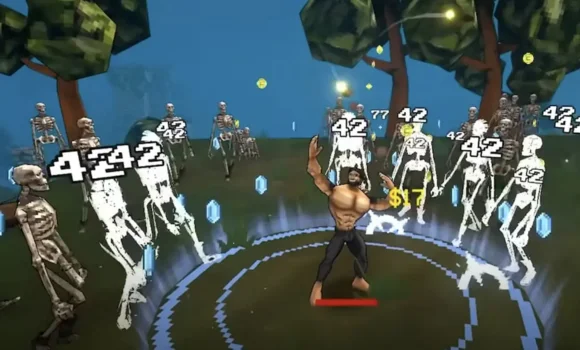
You’ll start to notice big clumps of enemies forming late game — literal death balls that can trap you if you misstep. If that happens, don’t panic. Use terrain, bunny-hop around, and pick your fights.
During the boss fight, these can get chaotic since the boss can get stuck in the swarm. If that happens, you can launch yourself, using his ranged attacks to bounce off his head and dish out poison. Risky but works.
And if RNG blesses you with a nuke drop mid-boss fight, save it. That thing can clear the entire swarm, level you up, and chunk the boss hard.
Visit our blog for more guides